Workspace Identity, Billing & Developer Access
The Workspace Hub is the foundational control layer of your platform. It centralizes critical administrative functions, including organizational identity, billing management, integrations, and developer access.
The Workspace Hub is the foundational control layer of your platform. It centralizes critical administrative functions, including organizational identity, billing management, integrations, and developer access.
This module ensures your workspace is properly configured, securely connected, and operationally scalable.
1. Workspace Details (Identity & Branding)
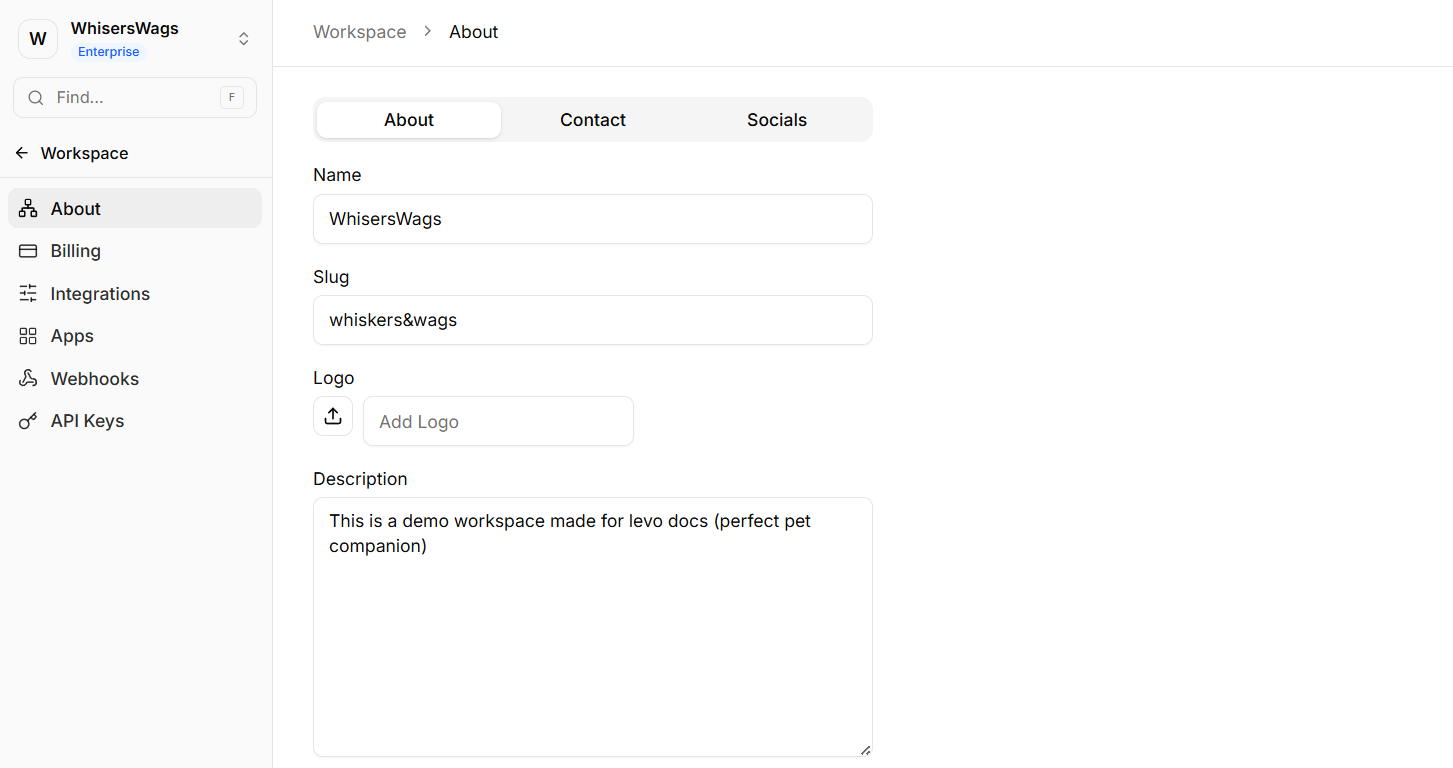
Navigate to Settings → Workspace Details to define your organization’s core identity and branding.
About Tab
Configure primary workspace attributes:
Name: The official display name of your organization
Logo: Upload a master logo that is automatically applied across templates and platform surfaces
Category: System-assigned business classification based on onboarding data
Slug: URL-friendly identifier used in internal routing
Note: Modifying the slug will update internal dashboard URLs and should be handled with caution.
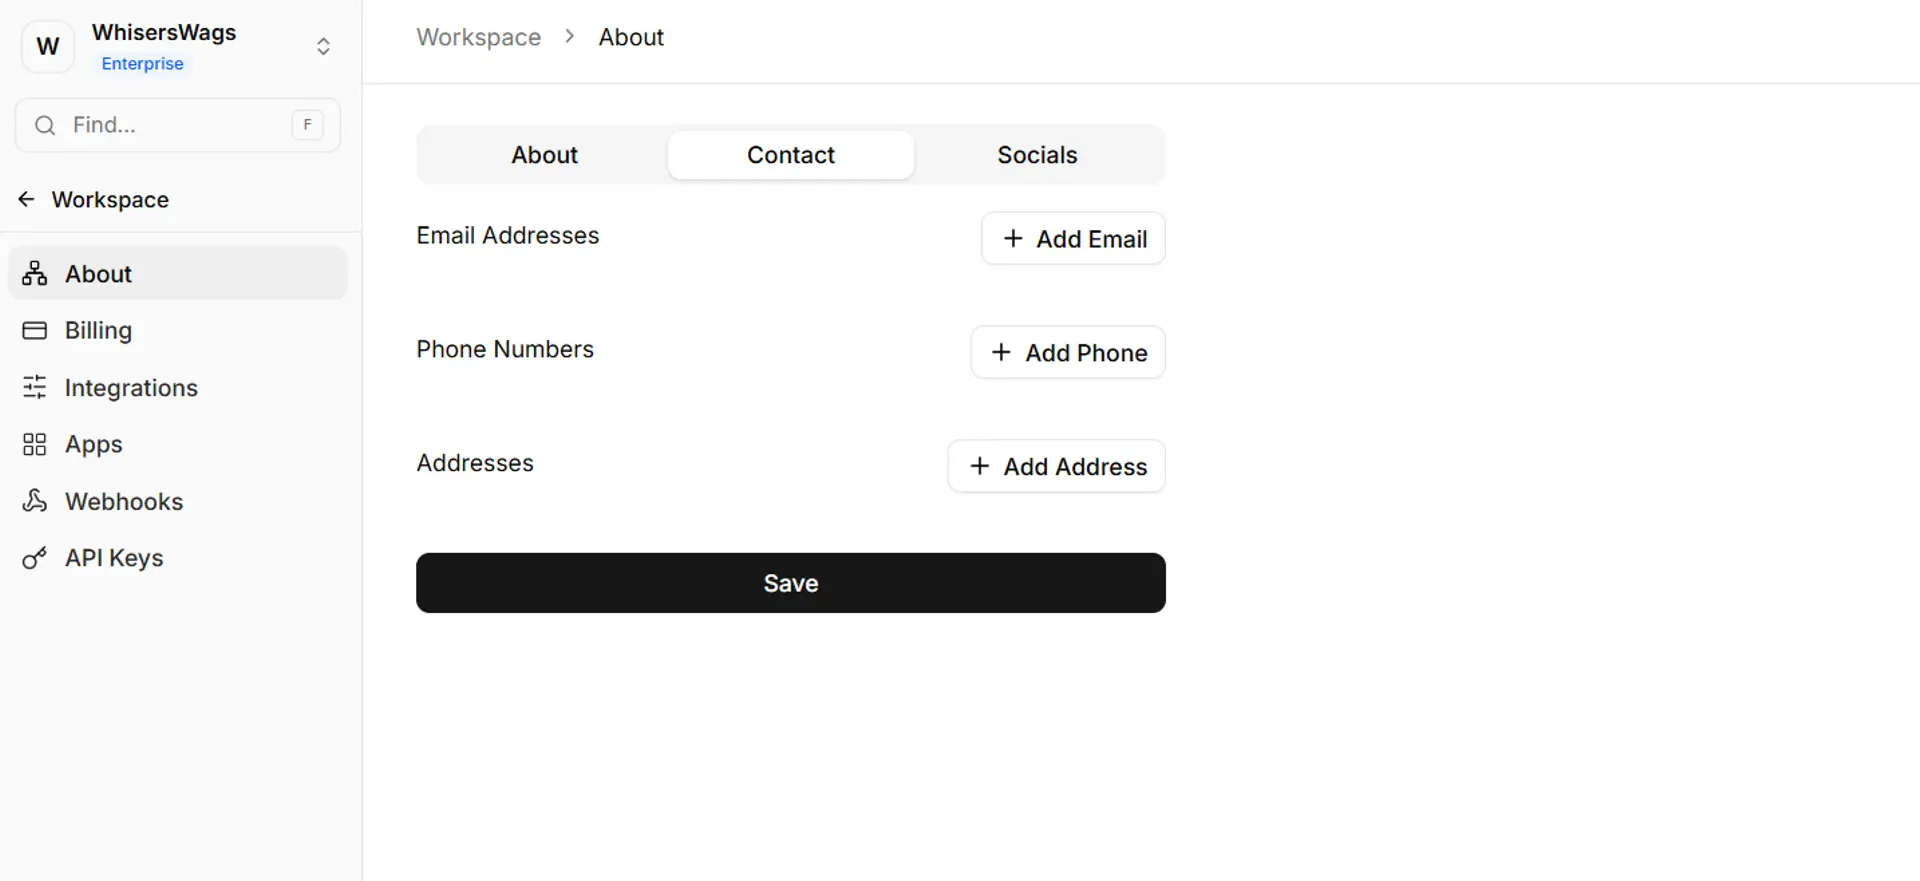
Contact & Socials Tabs
Centralize all public-facing communication details:
Support email addresses
Phone numbers
Business addresses
Social media links
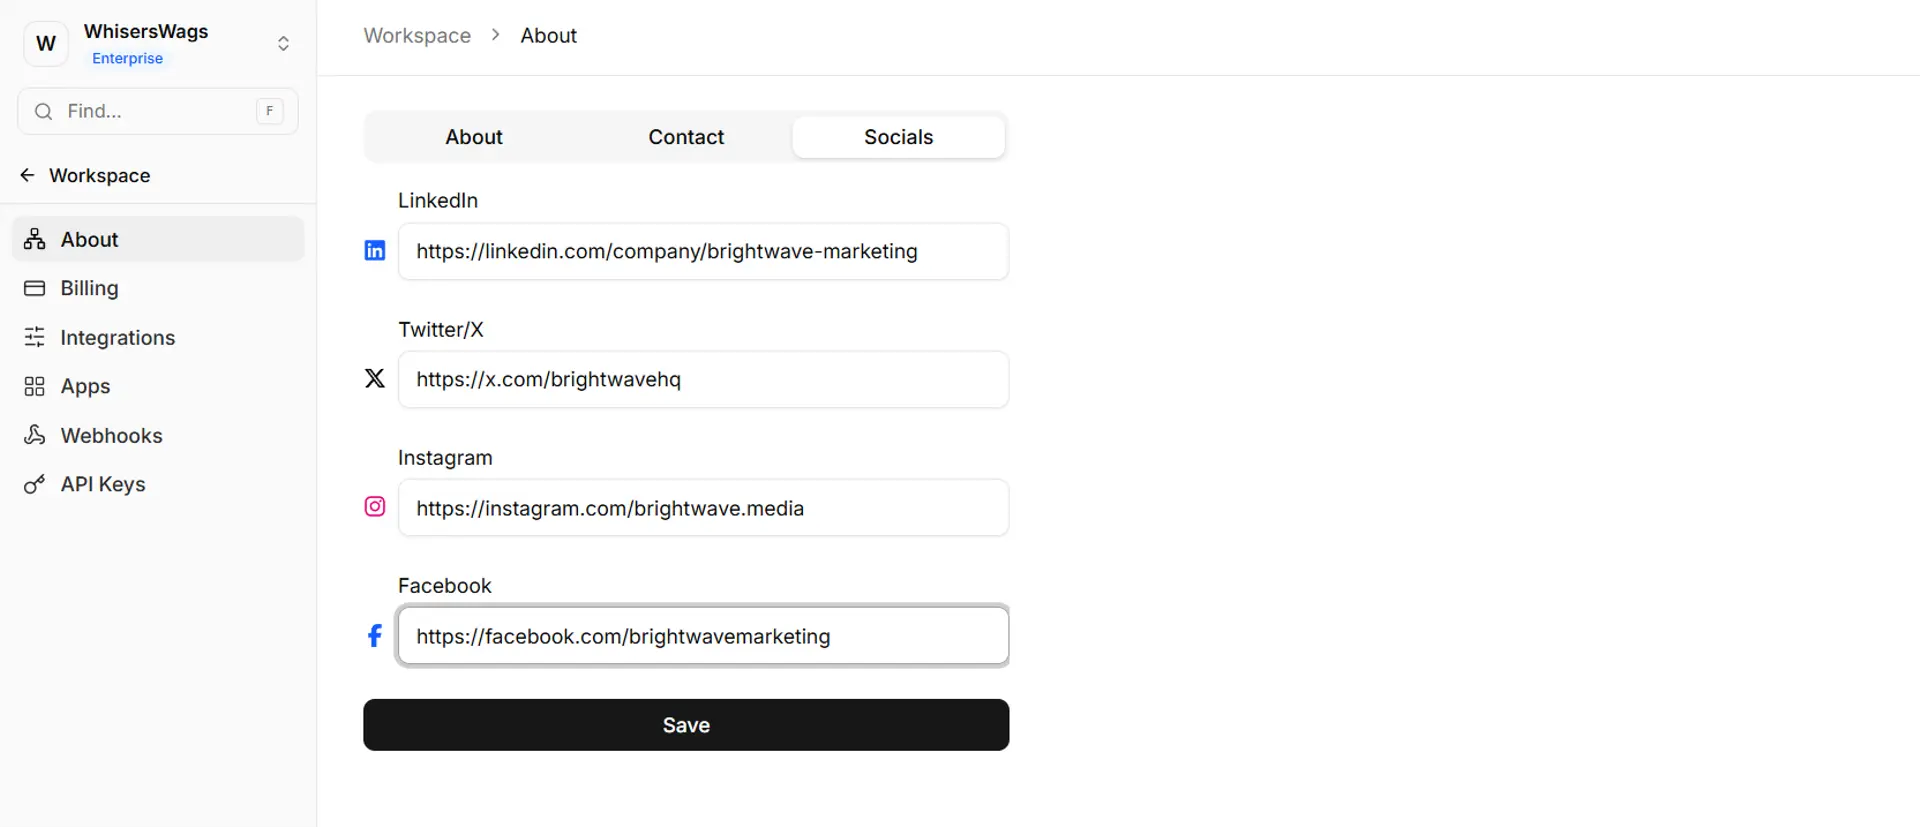
This data acts as a single source of truth and can be dynamically reused across Studio sites and communications.
2. Billing & Subscriptions
Navigate to Settings → Billing to manage your workspace’s subscription and financial details.
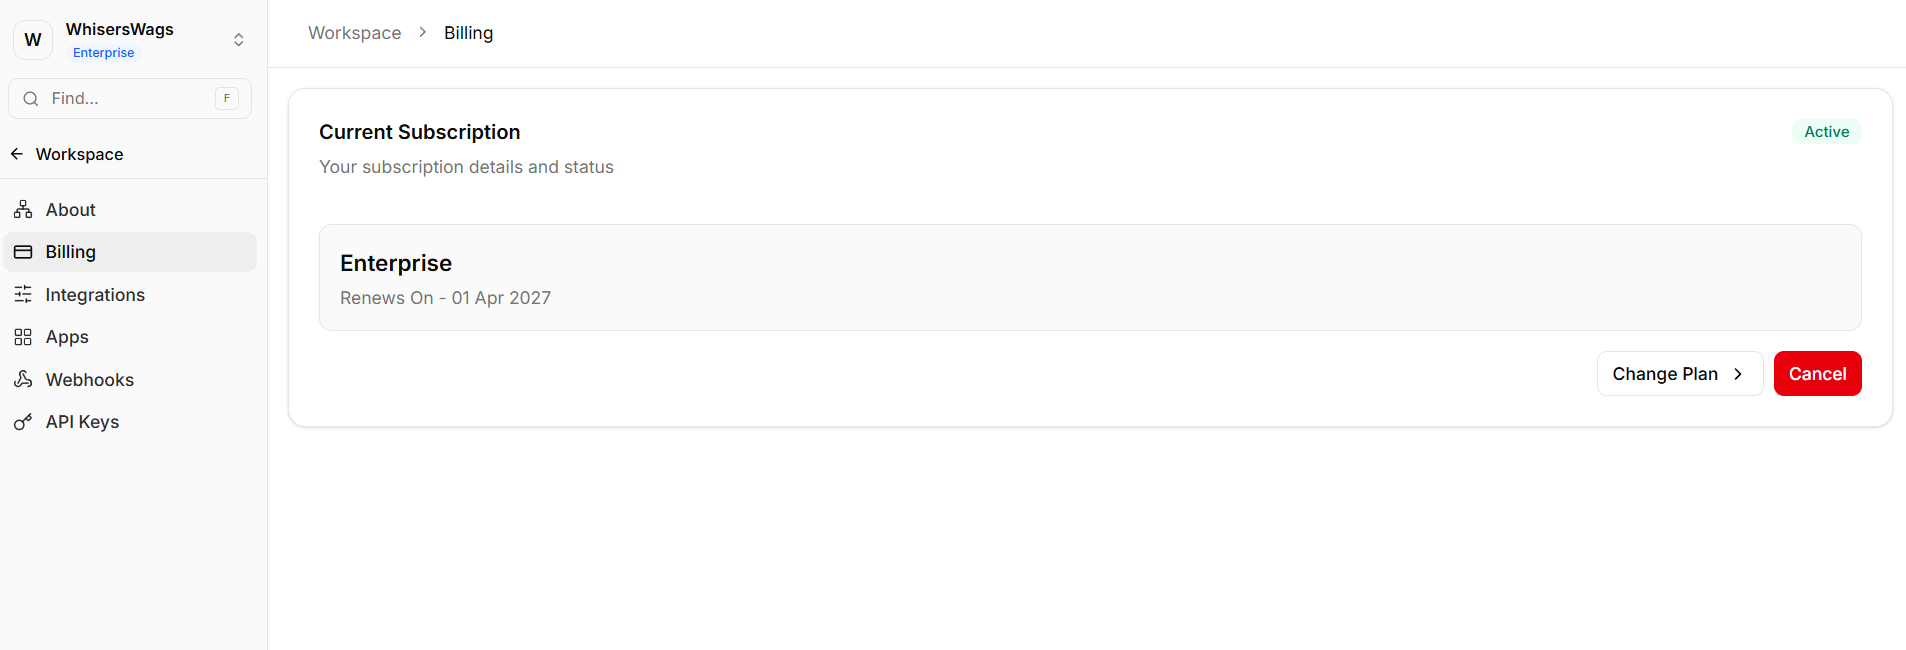
Subscription Management
View your current plan
Upgrade or downgrade based on usage requirements
Usage Tracking
Monitor platform limits, including:
Active members
Admin seats
Automation or usage quotas
Financial Management
Update payment methods
Access and download invoices
3. External Integrations
Navigate to Settings → Integrations to connect third-party services to your workspace.
This section is used for backend integrations that extend platform functionality.
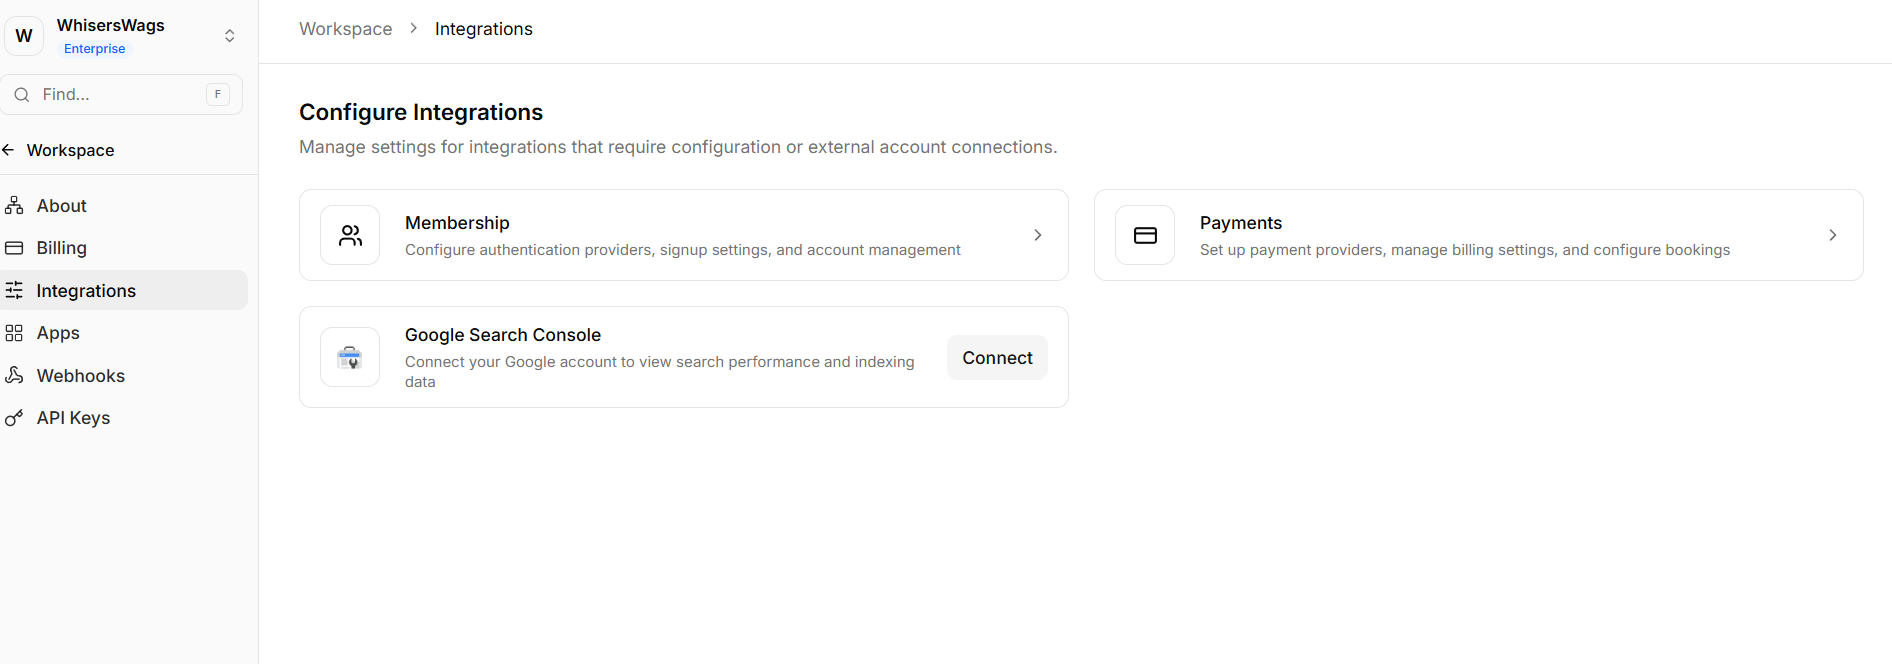
Important: Client-side tracking tools (such as analytics scripts or marketing pixels) are not configured here. These should be added via Head Code in your Studio site settings.
4. API Keys (Developer Access)
Navigate to Settings → API Keys to generate secure tokens for programmatic access.
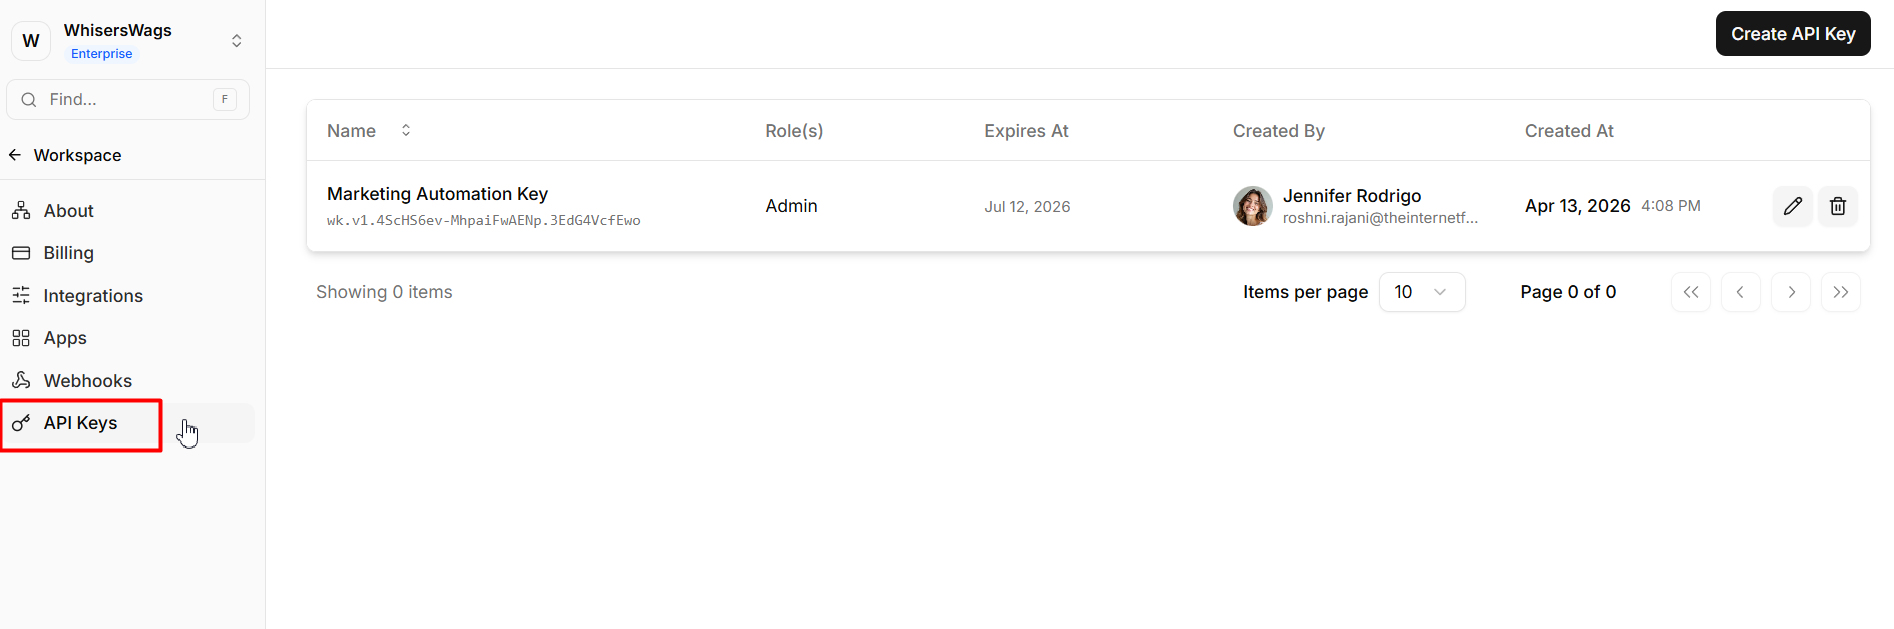
Creating API Keys
Click Create API Key
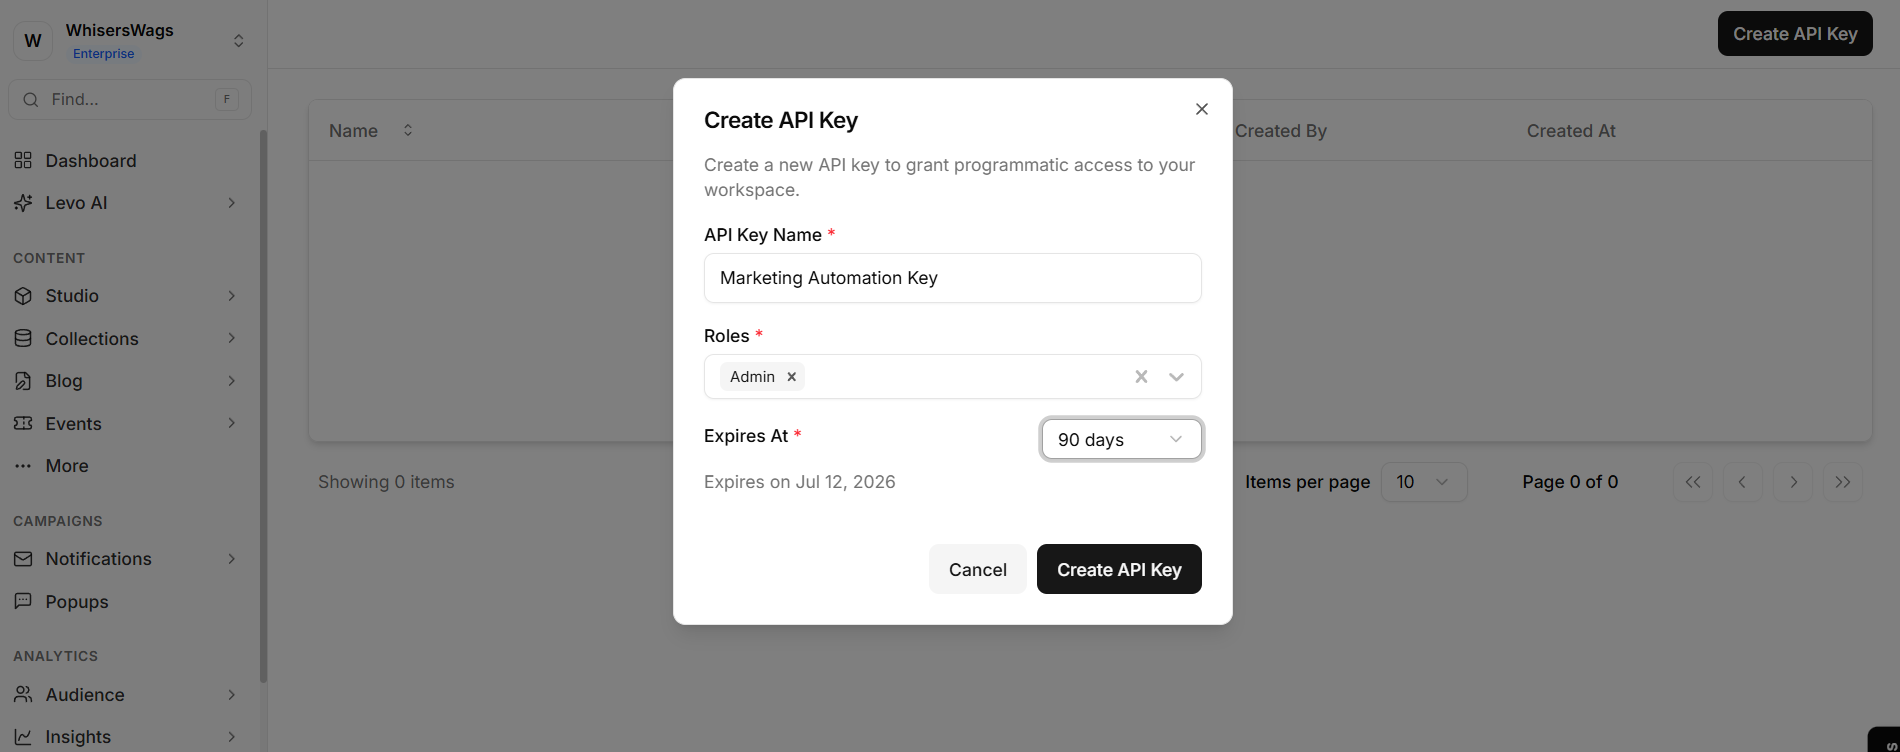
Assign a descriptive name for identification
Security Guidelines
The key is displayed only once upon creation
Store it immediately in a secure environment (e.g., environment variables or a password manager)
If lost, the key must be revoked and regenerated
Best Practices
Generate a separate API key for each integration
Revoke individual keys if a specific integration is compromised
Avoid sharing keys across multiple systems
5. Webhooks (Event-Driven Automation)
Navigate to Settings → Webhooks to configure real-time event notifications.
Webhooks allow your systems to receive updates instantly, eliminating the need for repeated API polling.
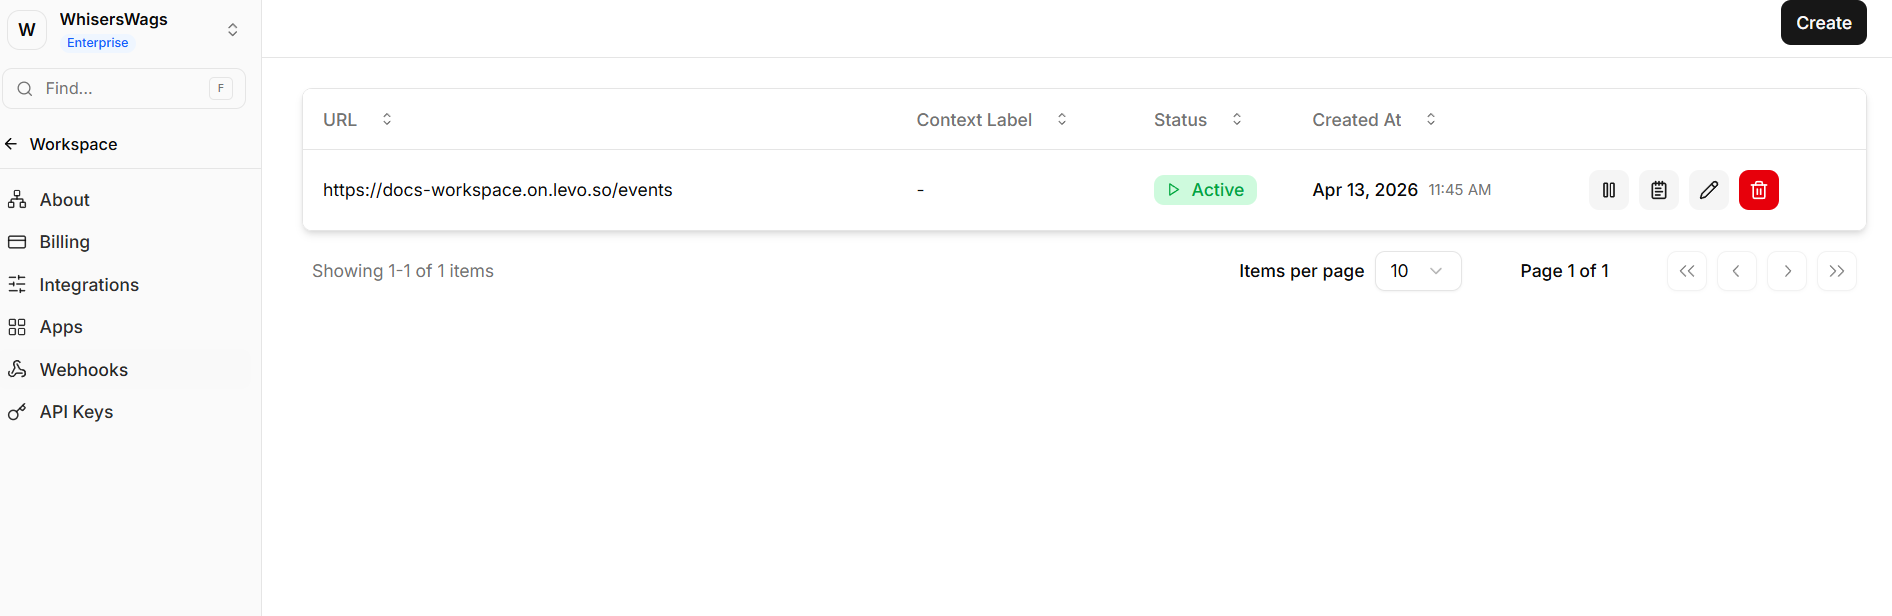
Configuration
Click Add Webhook
Provide your endpoint URL
Select the events you want to subscribe to
Supported Events
Examples include:
New database entries
Member registrations
Account updates
Event bookings
Monitoring & Debugging
Levo provides a delivery log for all webhook events, including:
Request status (e.g., success or failure)
HTTP response codes
Delivery attempts
This enables efficient troubleshooting of external workflows.