Entry Animations — Reveal Elements on Scroll
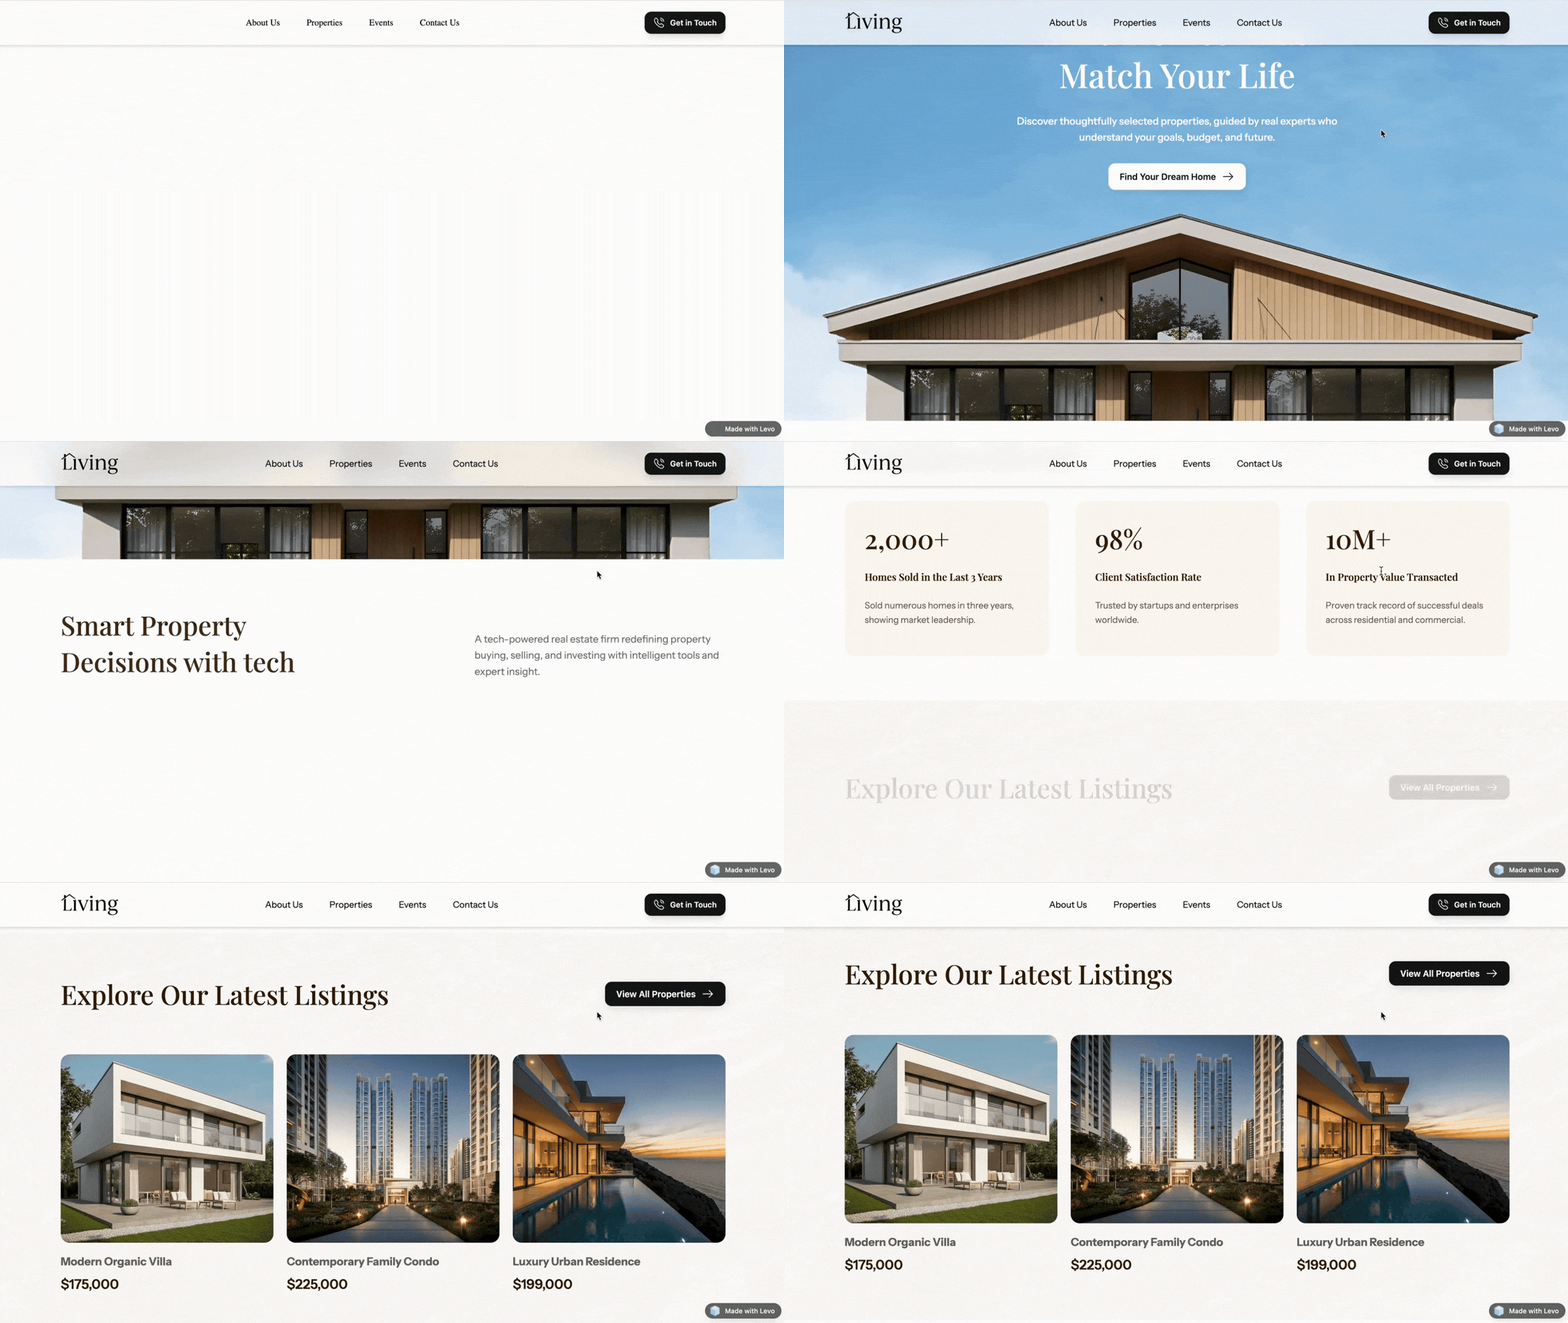
Entry animations play exactly once when an item first appears on the screen. It is an amazing way to make your website reveal itself progressively as the user scrolls down!
A great website doesn’t just show content — it reveals it.
That’s exactly what entry animations help you achieve.
Instead of everything appearing at once, elements smoothly enter the screen, creating a more engaging and polished experience as users scroll.
With Levo, adding entry animations is simple — and powerful.
What Are Entry Animations?
Entry animations are triggered when an element first appears on the screen.
They play once, helping your website feel more dynamic and less overwhelming.
Think of it like storytelling —
content appears step by step, guiding the user naturally through your page.
How to Add an Entry Animation?
Adding an entry animation in Levo takes just a few steps:
Select the element you want to animate
Open the Animation tab on the right panel
Go to the Entry section
Choose a preset that fits your design
And that’s it — your element is now animated.
Entry Animation Presets:
Levo provides a set of presets that define how your element enters the screen.
Here are the most commonly used ones:
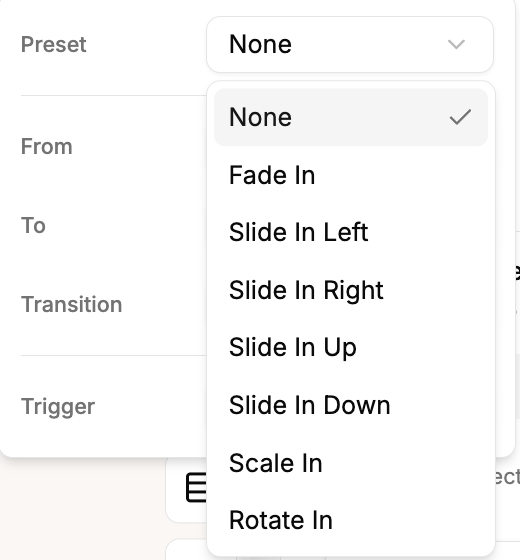
1. Fade In:
Smoothly transitions the element from invisible to visible.
Best for: text, paragraphs, subtle UI elements
2. Slide In Left / Right:
Moves the element onto the screen from either side.
Best for: sections, cards, layouts
3. Slide In Up / Down:
Slides the element vertically into view.
Best for: headings, hero content, scroll-based sections
4. Scale In:
Starts small and grows to full size.
Best for: images, icons, highlights
5. Rotate In:
Adds a spinning motion as the element appears.
Best for: creative or playful designs (use sparingly)
Customizing Your Animation
Presets are just the starting point.
If you want more control, you can customize how the animation behaves.
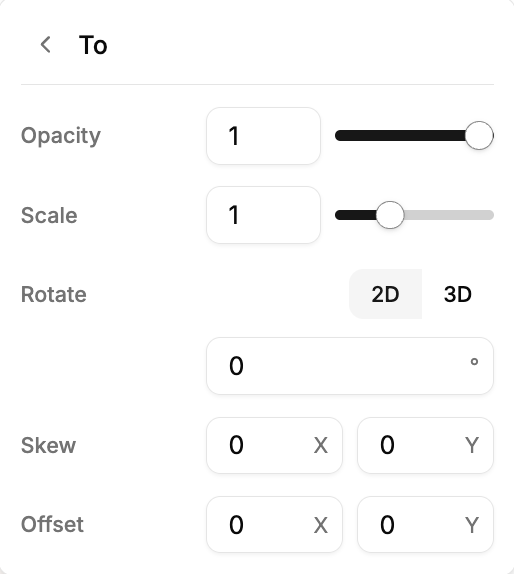
From & To States:
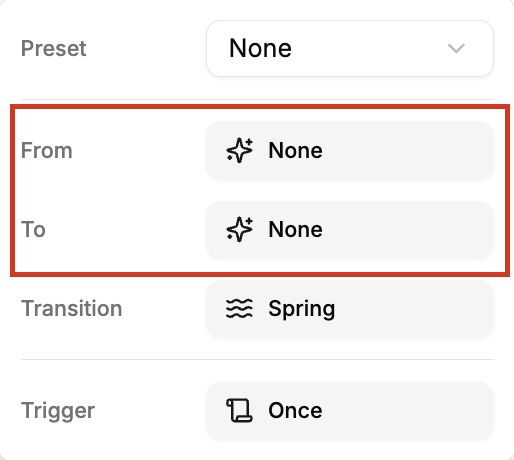
These define how your animation starts and ends:
From State → how the element looks before the animation
To State → how the element looks after the animation
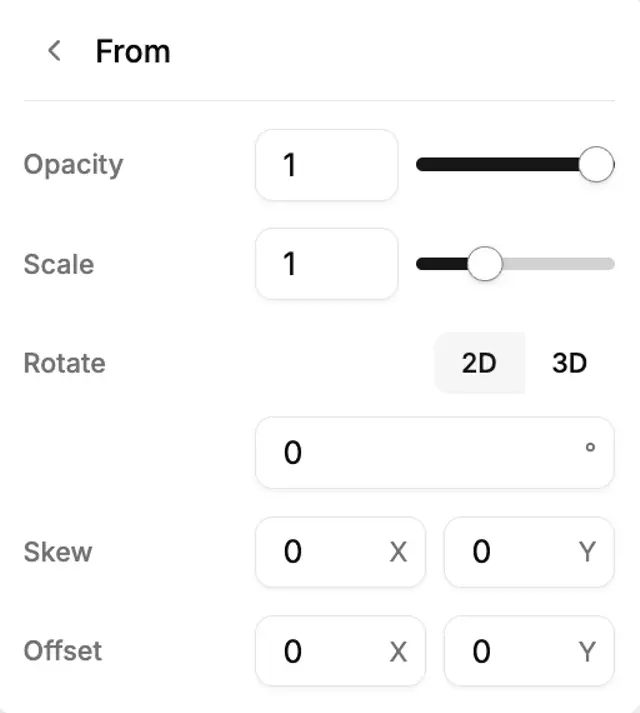
You can adjust:
opacity (transparency)
scale (size)
X & Y position
rotation or tilt
This allows you to create completely custom animation styles.
Transition Types
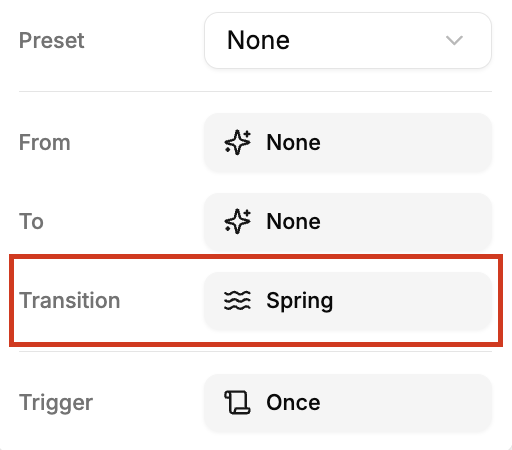
Levo offers two types of transitions:
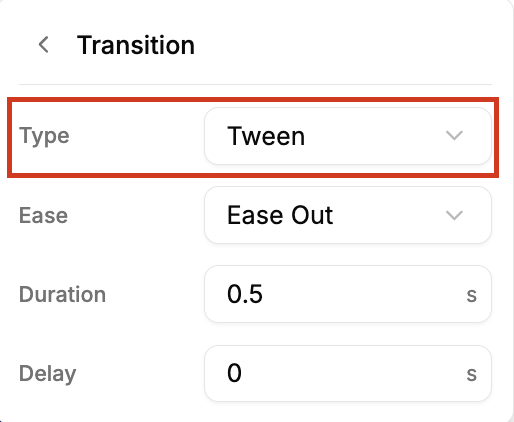
Tween
Smooth, predefined motion
Simple and consistent
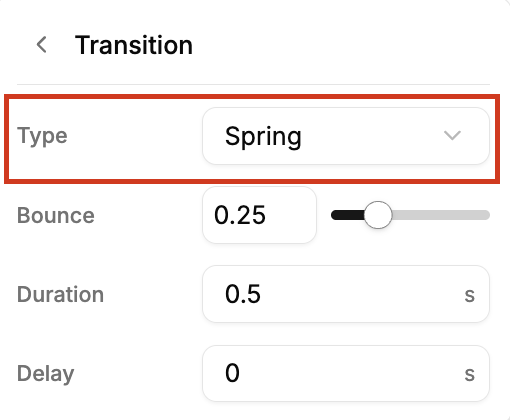
Spring
More natural, fluid movement
Feels more modern and dynamic
For most cases, Spring gives a better, more polished feel.
Timing Controls
You can fine-tune the animation using:
Duration → how long the animation runs
Delay → when the animation starts
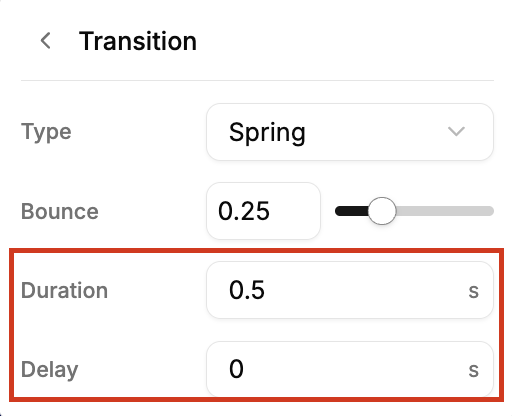
Small timing tweaks can make a big difference in how smooth the animation feels.
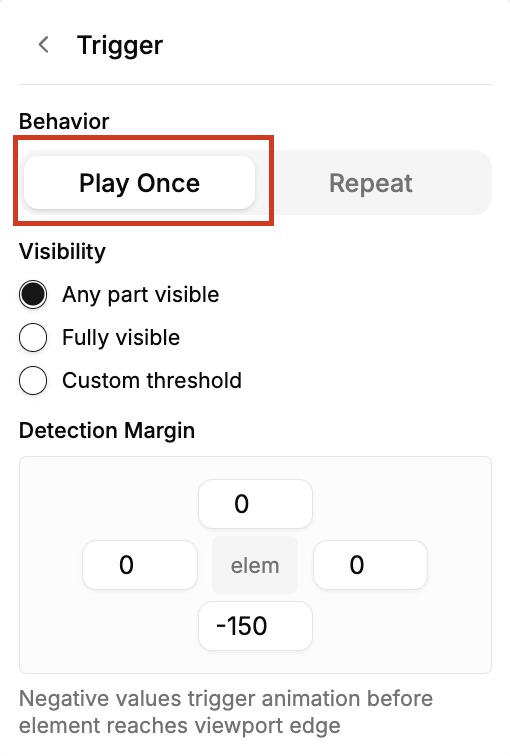
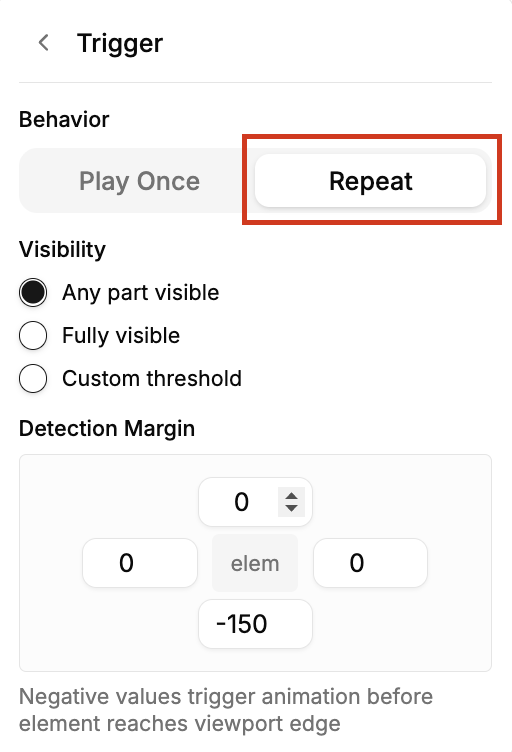
Trigger Options
You can control when the animation plays:
Play Once → runs only once when the element appears
Repeat → plays every time the element comes into view
Where to Use Entry Animations?
Entry animations work best when used with purpose.
Here are some practical use cases:
1. Hero Sections:
Animate headings and CTAs to create a strong first impression.
2. Text & Content Blocks:
Use subtle fade or slide effects to improve readability.
3. Feature Sections:
Reveal features one by one to guide user attention.
4. Images & Visuals:
Use scale or slide effects to highlight visuals.
5. Call-to-Action Buttons:
Add slight motion to draw attention without being distracting.
Entry animations are one of the easiest ways to upgrade your website experience.
With Levo, you can:
control how content appears
create smooth, modern interactions
guide users through your page naturally
— all without complexity.
Sometimes, it’s not about adding more content…
but about how you reveal it.
Start experimenting with entry animations and see how it transforms your design.